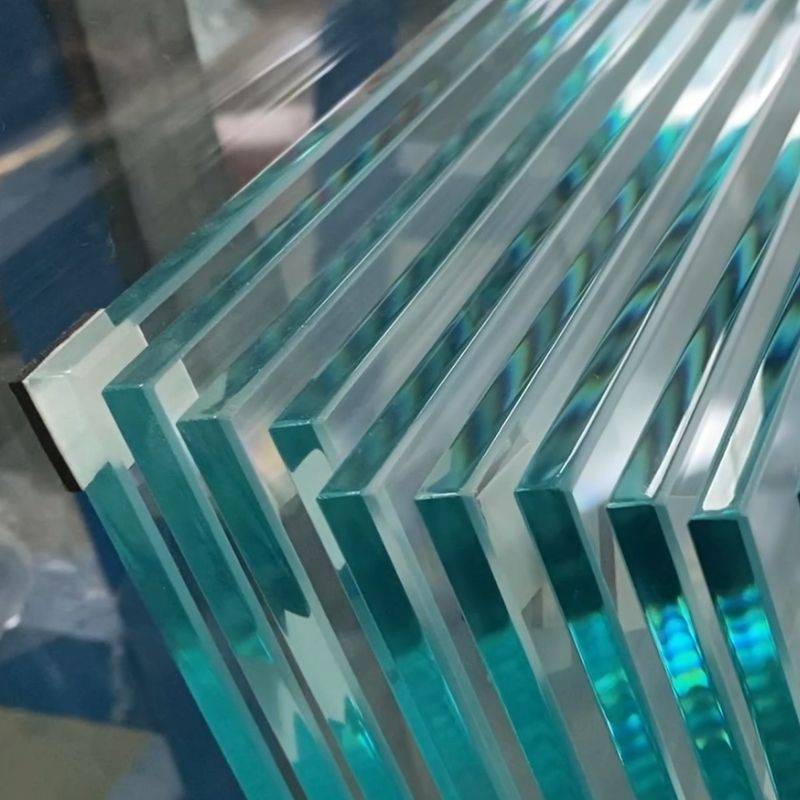

Acid Etching Glass at Home A Creative Venture
Acid etching is a beautiful and intricate process used to create designs on glass by removing a layer of the surface. This method not only enhances the aesthetic appeal of glass items but also adds a personal touch to your home décor. Although it might sound daunting, acid etching can be safely and effectively done at home with the right materials and precautions.
Understanding Acid Etching
The core of acid etching involves using an acid solution to create a frosted effect on glass surfaces. The most commonly used acid for this process is hydrofluoric acid (HF), but due to its hazardous nature, many hobbyists opt for safer alternatives, such as etching cream, that contain ammonium bifluoride. Etching cream is readily available at craft stores and provides a user-friendly option for beginners.
Materials Needed
To embark on your acid etching project, you will need a few essential materials
1. Glass Item Choose a piece of glass that you want to etch. This could be a glass vase, mirror, or any flat glass surface. 2. Etching Cream Purchase etching cream from a craft store or online. 3. Stencils You can either buy pre-made stencils or create your own using adhesive vinyl or stencil film. 4. Paintbrush or Applicator For applying the etching cream. 5. Masking Tape To secure your stencil in place and protect areas you don’t want to etch. 6. Protective Gear Safety goggles and gloves are crucial for protecting your eyes and skin from the acid.
Steps for Acid Etching
1. Preparing the Glass Start by cleaning the glass surface thoroughly. Any dust or grease can affect the etching process, so ensure that it is spotless. Dry the surface completely before proceeding.

2. Applying the Stencil If you are using a stencil, position it carefully on the glass where you want the design to appear. Use masking tape to secure the edges of the stencil to prevent it from slipping during the etching process.
3. Applying the Etching Cream Wear your protective gear before proceeding. Using a paintbrush or applicator, carefully apply a generous layer of etching cream over the exposed areas of the stencil. Be cautious and avoid applying the cream to areas that you want to remain clear.
4. Allowing the Cream to Work Follow the instructions on your etching cream for the recommended time to let it sit on the glass, usually around 10 to 15 minutes. The acid works to etch the glass during this time.
5. Rinsing Off the Cream After the allotted time, rinse off the etching cream thoroughly under running water. Be sure to do this in a well-ventilated area and avoid splashing the cream, as it can be harmful. Carefully remove the stencil and any masking tape, and clean the glass again to remove any residue.
6. Final Touches Once the glass is dry, admire your handiwork! You can experiment further by adding color or additional designs to enhance your etched glass piece.
Safety Precautions
Always prioritize safety while working with acids. Use gloves and goggles to protect yourself from any splashes. Ensure your workspace is well-ventilated, and keep all materials out of reach of children and pets.
Conclusion
Acid etching glass at home is not only a rewarding creative endeavor but also an opportunity to personalize your belongings. With the right materials and safety measures in place, you can transform ordinary glass into exquisite pieces of art. Whether you're creating a gift or enhancing your own home décor, the possibilities are endless with acid etching. Give it a try, and discover the artist within you!